Introduction
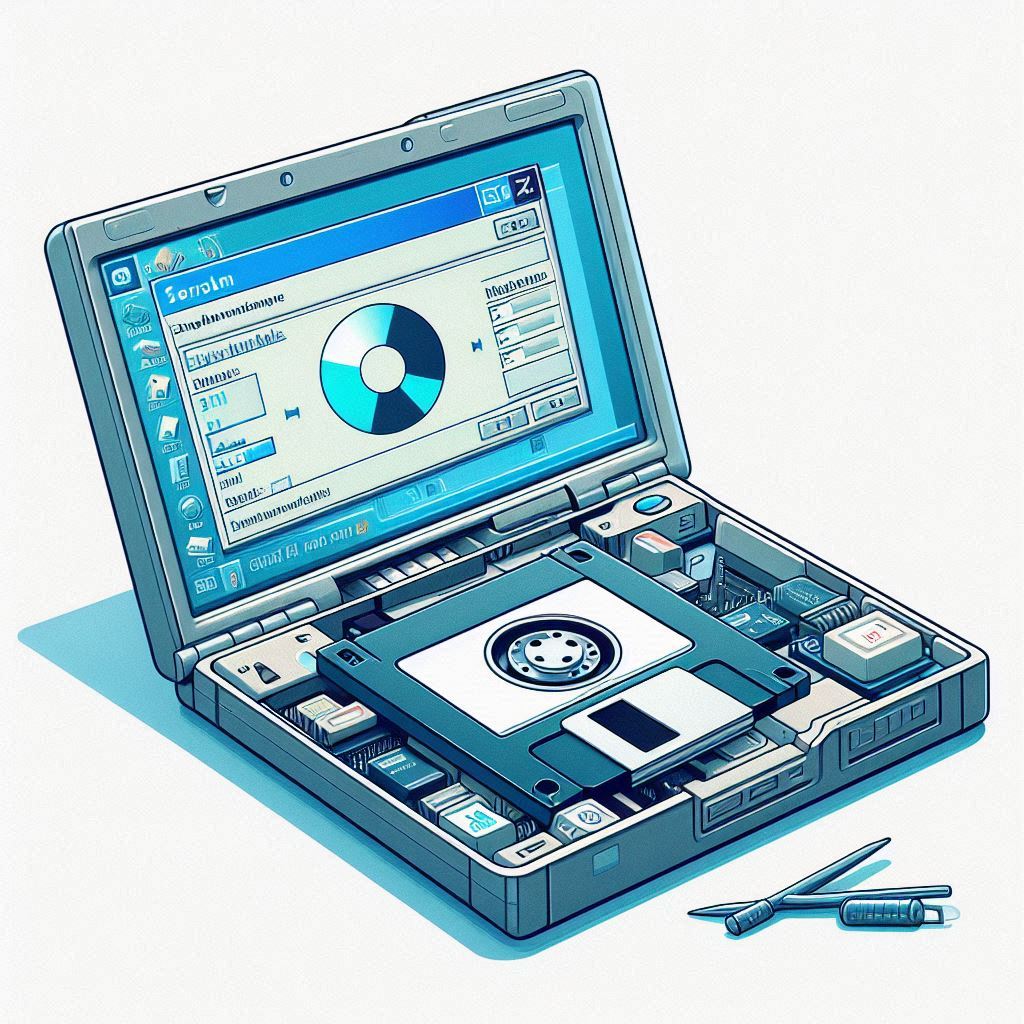
Creating a Windows XP installer from a floppy disk may seem like a task from the past, but it’s a valuable skill for retro computing enthusiasts and those working with legacy systems. Despite the age of the technology, having the knowledge to create a bootable installer can be incredibly useful. In this blog post, we’ll walk you through the step-by-step process of crafting an installer for Windows XP using a floppy disk. We’ll cover the tools you need, the steps to prepare your floppy disk, and how to ensure your installation process runs smoothly.In this comprehensive guide, you can expect clear instructions, insightful tips, and answers to common questions about creating a Windows XP installer from a floppy disk. Let’s dive in!
Why Create a Windows XP Installer from a Floppy Disk?
Before we jump into the steps, it’s essential to understand why you might want to create a Windows XP installer from a floppy disk. While floppy disks are largely obsolete today, they were once a standard method for booting and installing operating systems. Here are a few reasons you might find this skill useful:
- Legacy Systems: Some older computers and industrial machines still run on Windows XP and may require reinstallation or repair.
- Retro Computing: Enthusiasts of vintage computing often recreate old setups for hobby or educational purposes.
- Data Recovery: In some cases, accessing old data or software requires booting from a floppy disk.
Prerequisites
Before you start, you’ll need a few essential items:
- A computer with a floppy disk drive.
- A blank 3.5-inch floppy disk.
- A copy of the Windows XP installation files.
- A tool to create a bootable floppy disk (e.g., WinImage or similar software).
- Basic knowledge of BIOS settings and boot sequences.
Step-by-Step Guide
1. Preparing the Floppy Disk
The first step is to prepare your floppy disk to become a bootable installer.
- Format the Floppy Disk: Insert the floppy disk into your computer’s floppy drive. Open ‘My Computer’ or ‘This PC’, right-click on the floppy drive, and select ‘Format’. Choose the ‘Quick Format’ option to erase any existing data on the disk.
- Check Disk Integrity: It’s crucial to ensure that your floppy disk is in good condition. Floppy disks are prone to wear and tear, so verify that the disk is free of errors by running a disk check.
2. Creating the Bootable Disk
Now that your floppy disk is ready, it’s time to make it bootable.
- Download WinImage: WinImage is a popular tool for creating bootable floppy disks. Download and install WinImage from a reputable source.
- Create a Bootable Disk:
- Open WinImage and insert your formatted floppy disk.
- Select ‘File’ > ‘New’ to create a new disk image.
- Add the necessary boot files from your Windows XP installation media. These files typically include
NTLDR,BOOT.INI, andNTDETECT.COM. - Save the disk image and write it to the floppy disk by selecting ‘Disk’ > ‘Write Disk’.
3. Configuring the BIOS
To boot from the floppy disk, you need to configure your computer’s BIOS settings.
- Enter BIOS Setup: Restart your computer and enter the BIOS setup. This is usually done by pressing a key such as
F2,Delete, orEscduring the initial boot screen. - Set Boot Priority: In the BIOS setup, navigate to the ‘Boot’ menu. Set the floppy disk drive as the first boot device. Save your changes and exit the BIOS.
4. Starting the Installation Process
With the floppy disk ready and BIOS configured, you can start the installation process.
- Insert the Floppy Disk: Place the bootable floppy disk into the drive and restart your computer.
- Boot from Floppy Disk: Your computer should boot from the floppy disk, launching the Windows XP installation program.
- Follow On-Screen Instructions: Follow the on-screen instructions to complete the installation of Windows XP. This process will involve partitioning your hard drive, copying files, and configuring your system settings.
Troubleshooting Common Issues
Despite your best efforts, you may encounter issues during the installation process. Here are some common problems and their solutions:
- Floppy Disk Not Recognized: Ensure that the floppy disk is properly inserted and that the drive is functioning. Try using a different floppy disk if necessary.
- Boot Files Missing: Double-check that you have included all the necessary boot files on the floppy disk. Recreate the disk if needed.
- BIOS Settings: Verify that the floppy disk drive is set as the first boot device in the BIOS.
Conclusion
Creating a Windows XP installer from a floppy disk may seem like a relic of the past, but it’s a valuable skill for those working with legacy systems or retro computing projects. By following the steps outlined in this guide, you can successfully create a bootable floppy disk and install Windows XP on your computer. Whether you’re troubleshooting an old machine or indulging in a bit of computing nostalgia, this guide has you covered.
FAQs
- Can I use a USB drive instead of a floppy disk?
- Yes, you can use a USB drive, but this guide specifically covers using a floppy disk for those working with older systems that may not support USB booting.
- Where can I find the necessary boot files for Windows XP?
- The boot files are typically found on the Windows XP installation media. You can also download them from reputable online sources.
- What should I do if my floppy disk is damaged?
- Try using a different floppy disk. If you continue to experience issues, consider using a USB drive or CD-ROM for the installation.
- Is it legal to create a Windows XP installer?
- Creating an installer for personal use with a valid Windows XP license is generally legal. Distributing copies without authorization is not.
- Can I install Windows XP on a modern computer?
- While it’s technically possible, Windows XP may not support the hardware and drivers of modern computers. It’s best suited for older systems.